Blog


DIY Scratch off Valentine’s
Did you know that you can make your own scratch off cards? Click to learn how to make your own!
How cool are these do-it-yourself scratch off Valentine’s Day cards??? You can easily turn any piece of paper into your own custom made scratch off. The possibilities are endless!! You can either purchase designed cards, create your own or download the ones I made for FREE which you can grab throughout this post. It won’t take you long to make and the best part is that you can get the kids involved and have them make their own! Win-win in my books! Let’s get started!

Supplies you will need:
A Valentine’s Day card or the FREE Printable (grab here)
Scissors or paper trimmer (this is my favorite trimmer)
Clear packing tape or clear shelf liner
Metallic paint (the silver one worked best for me but any paint colour will do)
Paint brushes (smaller more detailed ones would work best as my foam brushes were not ideal)
Dish soap (any brand will do)
Pen or marker to fill in your card
Coin (to scratch off the card)
Step 1: Download your FREE Printable HERE
Step 2: Cut out your printables
Step 3: Using a pen write your messages on your printable
Step 4: Apply clear packing tape over the areas you want to have the scratch off
Step 5: Make your scratch off paint mixture. In a small bowl or plate, mix 2 parts paint, 1 part dish soap mix well with a spoon or stick
Step 6: Using a smaller paintbrush then I did, apply the first coat of mixture over the written message (making sure to stay on the packing tape). NOTE: You may need a few coats depending on the paint. My gold paint wasn’t very thick and needed 3 coats.
Step 7: Let dry in between coats and completely before scratching off.
Step 8: Give your Valentine’s to your friends or loved ones.
Step 9: Using a coin, scratch off the area to reveal your message!
Didn’t grab your FREE printable yet?? Grab it below! Click on image to grab yours!

Click on image above to grab your FREE printable!
Watch my tutorial below! Make sure to share this with your friends!!
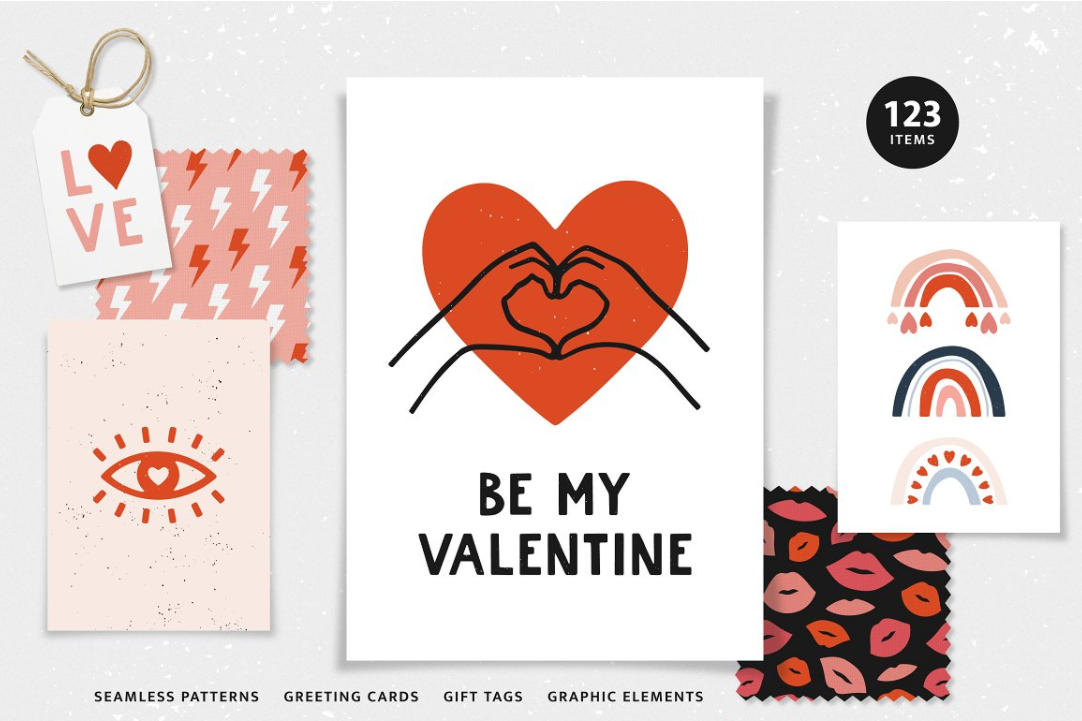
Want to make your own Valentine’s Day cards?? Check out Creative Market for some of my favourite graphic bundles!!!


Did you know that every Monday Creative Market has FREE files that you can download and use for personal use?? Sign up today at Creative Market to get your free files today!
DIY bark tree ornaments/gift tags
Make these super cute, super easy birch bark tree Christmas ornaments in seconds.
This year I'm going for a natural, rustic feel with a modern twist for my Christmas decor and these super cute, super easy bark tree ornaments are one of my favourites this year!
Supplies:

DIY Christmas Bells
Can you guess what these high end looking bells are made from?? These are my favourite DIY ever!
This has to be HANDS DOWN my favourite DIY ever!!! Can you guess what these bells are made from???
First let’s start with the inspiration! I fell in love with these STUNNING bells from Crate & Barrel. Unfortunately I didn’t want to spend that kind of money on them so instead I knew that I could DIY them!!

Supplies:
Plastic goblets that the stem/base come apart from
Wood skewers or dowels
Gold and white spray paint (I used my favourite Rustoleum’s Heirloom White in Satin finish
Cording (I used rope I had)
Small wooden rings
Hand saw
Glue gun & sticks
E6000 glue
Wire (optional - could use string)
Leather twine (optional - could use ribbon as well)
Instructions:
Cut dowels to approximately 5 inches. This all depends on the depth of your wine glasses. Just make sure that the dowel protrudes from the glass.
Spray pain the inside of the glasses and the wood dowels gold & let dry.
Turn over the glasses and spray the outside with the white spray paint.
Spray the small wooden rings white as well.
My glasses has a nub on the bottom and I didn’t want those so I used my hand saw and cut them off. I was surprised at how easy they were to remove.
Using the combo of hot glue and E6000 glue the wood rings onto the top of the glasses (I had to respray the tops too)
Now to make the dongles (is that a word??) I cut a piece of wire and wrapped/glued it onto the end of the dowels then glued them inside the cups. I wanted them to be free floating and to look like a real dongle (again not sure if that’s what they are called lol)
I then put the rope through the wood rings and used some leather twine/ribbon to wrap the end of the loop.
Each bell had it’s own rope and then I just bunched them up and tied a knot to attach them to my mantle.
For more details on how I made them check out my TikTok!
For more great DIYs I would love it if you checked out my TikTok!

Merry Doormat
Make this easy doormat from Dollar Store items! Easy peasy, inexpensive and super cute!
I have been having so much fun experimenting with different techniques making my doormats. I wanted to make one that everyone could do using Dollar Store supplies only!
Supplies Needed:
Black utility door mat
White and green acrylic paint
Letter stencils
Masking Tape
Paint brushes
Instructions:
Tape off where you want stripes using masking tape. The mat already had some in the pattern so I just used that as a template.
Align the letter stencils to form the word you want. Tape them down using masking tape.
Using your white and green paint paint the stripes.
Using your white paint paint within the stencil letters.
Remove the letters and paint where the stencil lines were to connect the letters.
I layered mine ontop of another mat but I think it looks great as is too!!!

I make this little video on TikTok that I hope you enjoy! If you are on TikTok please follow me as I post more often there :)

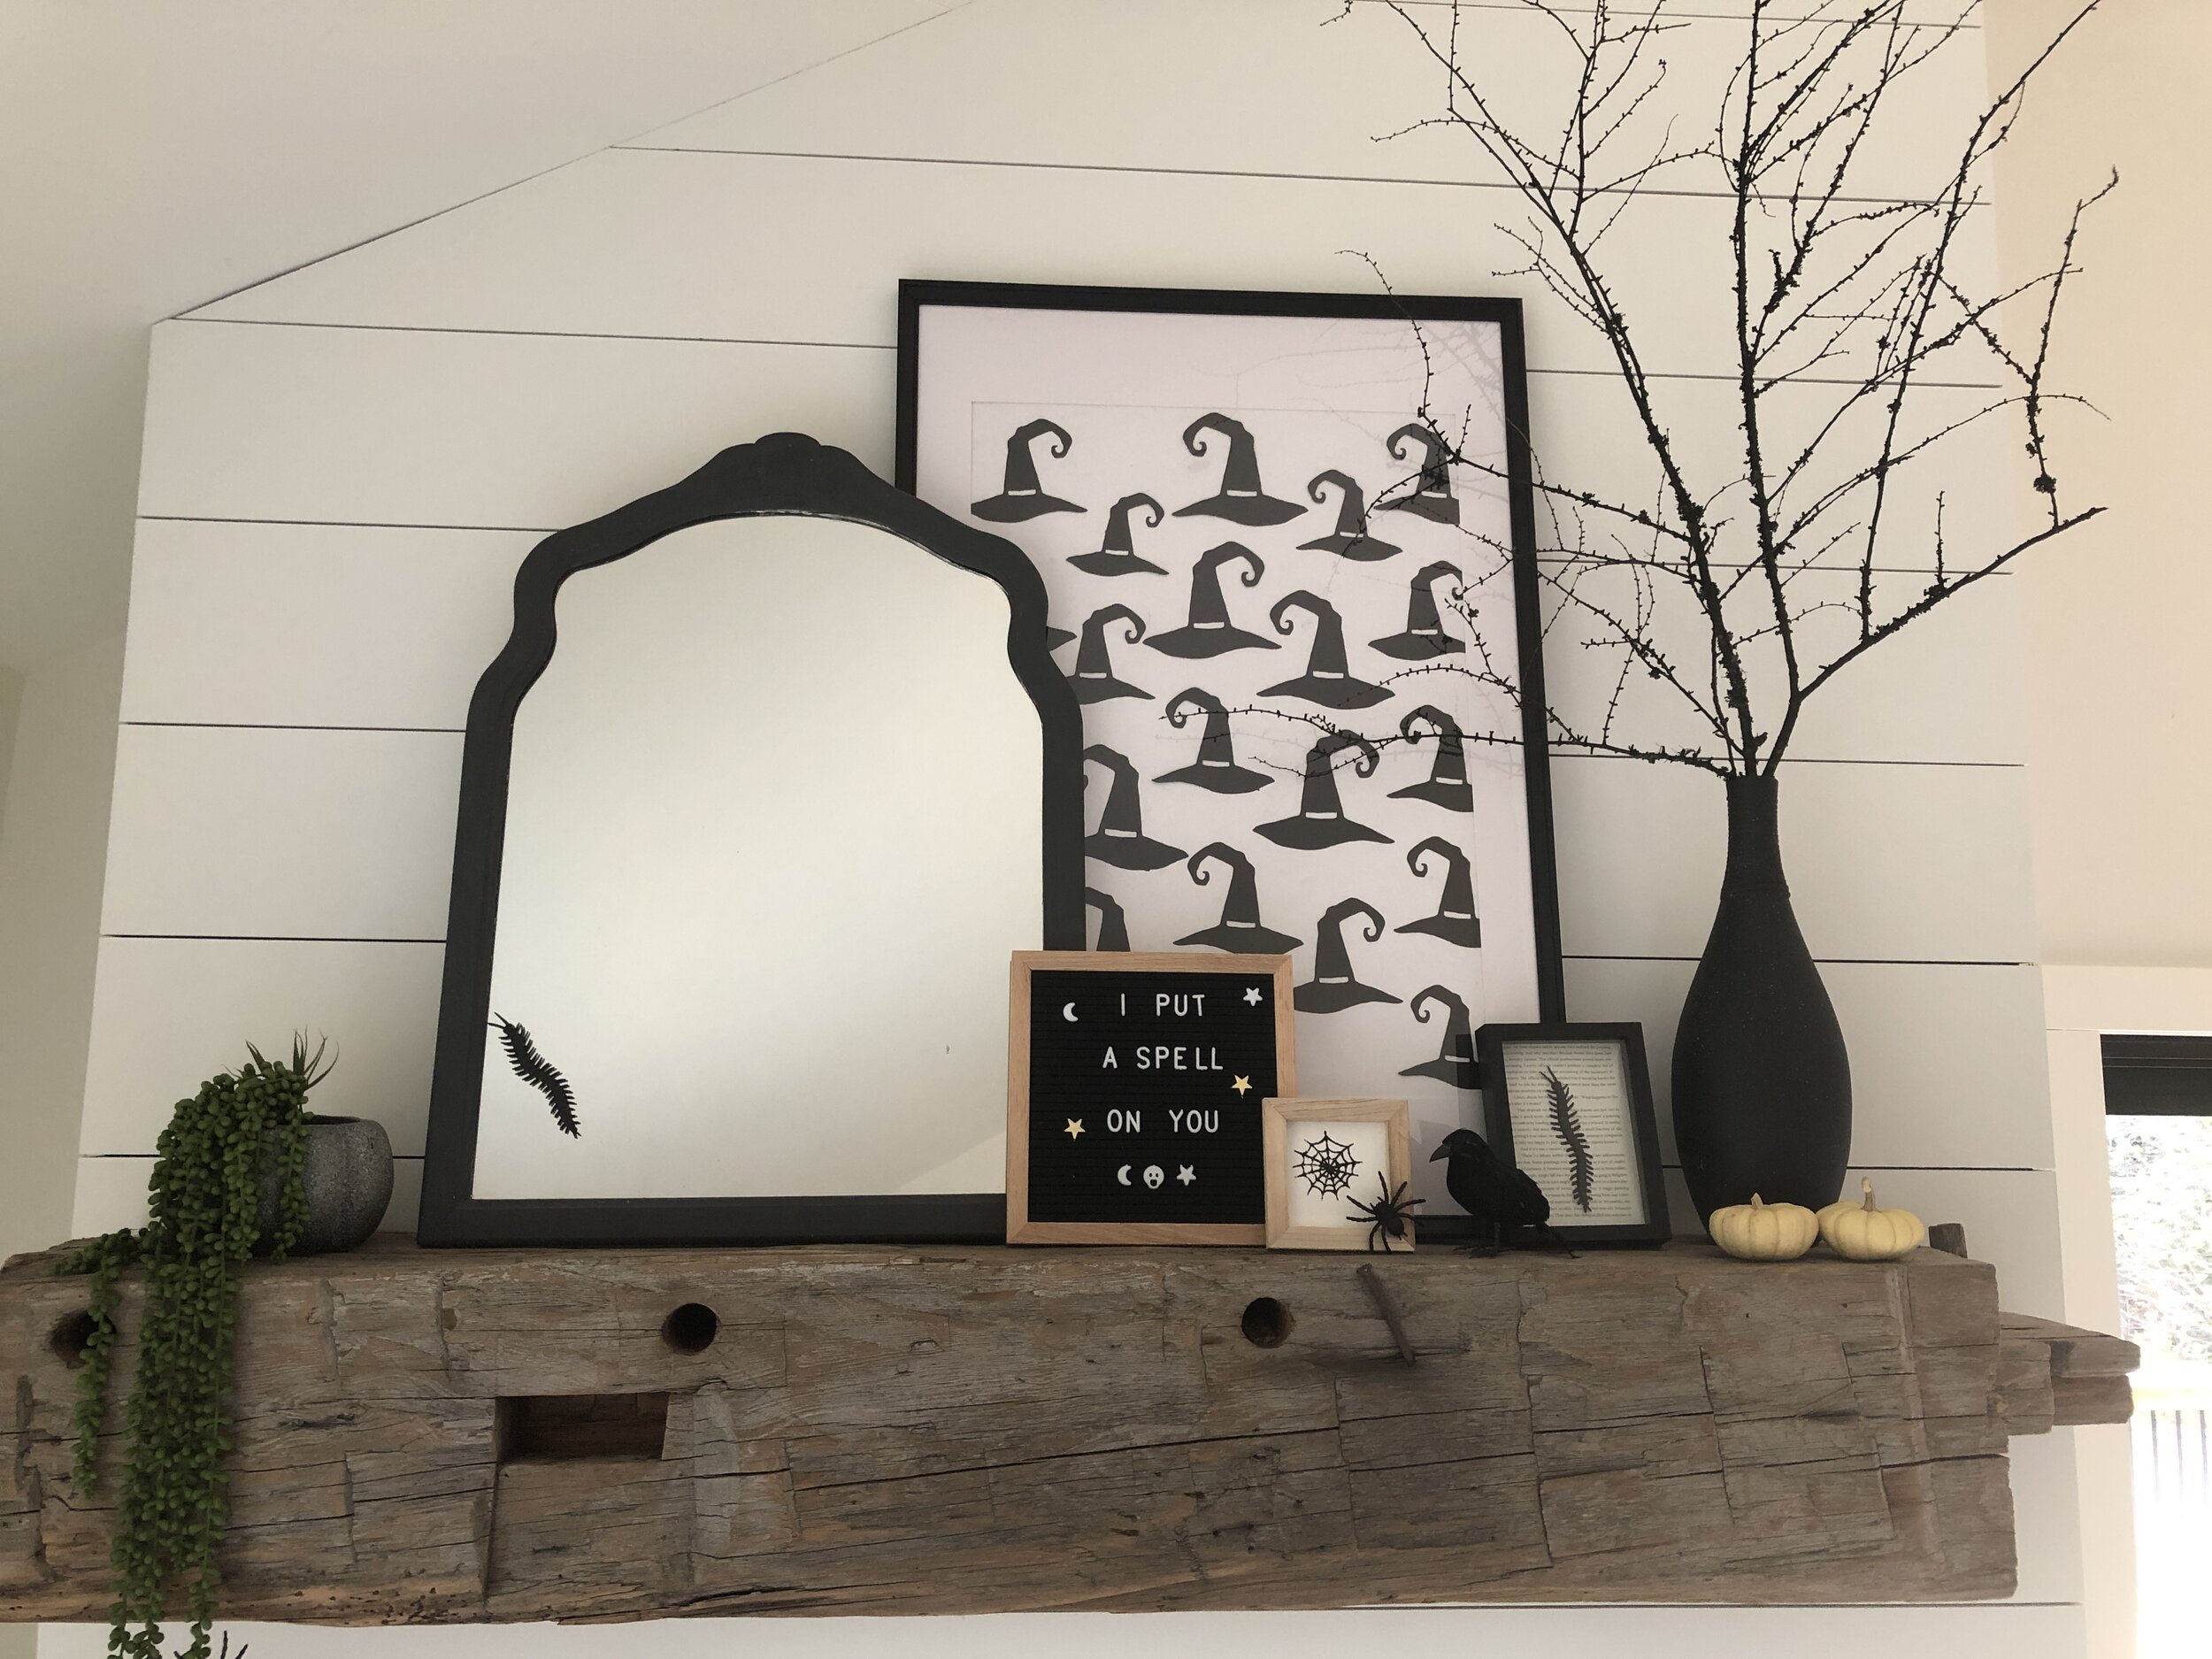
I put a spell on you wall décor
Make this super cute framed artwork using your electrotonic cutter!
It’s October 13th, the day after Thanksgiving (in Canada)!!! Do you know what that means???! I CAN DECORATE FOR HALLOWEEN!!! Halloween has always been my favourite holiday! I mean what other time can you dress up in crazy costumes and no one cares?! Ever since I was a kid we would hand make all of our costumes! I don’t usually decorate for Halloween but this year in the new house I just had to!! First thing I made was this large piece that can be easily swapped out when Halloween is over. It was super easy to make! Check out my TikTok video below! For the other items on my mantle make sure to check out these posts
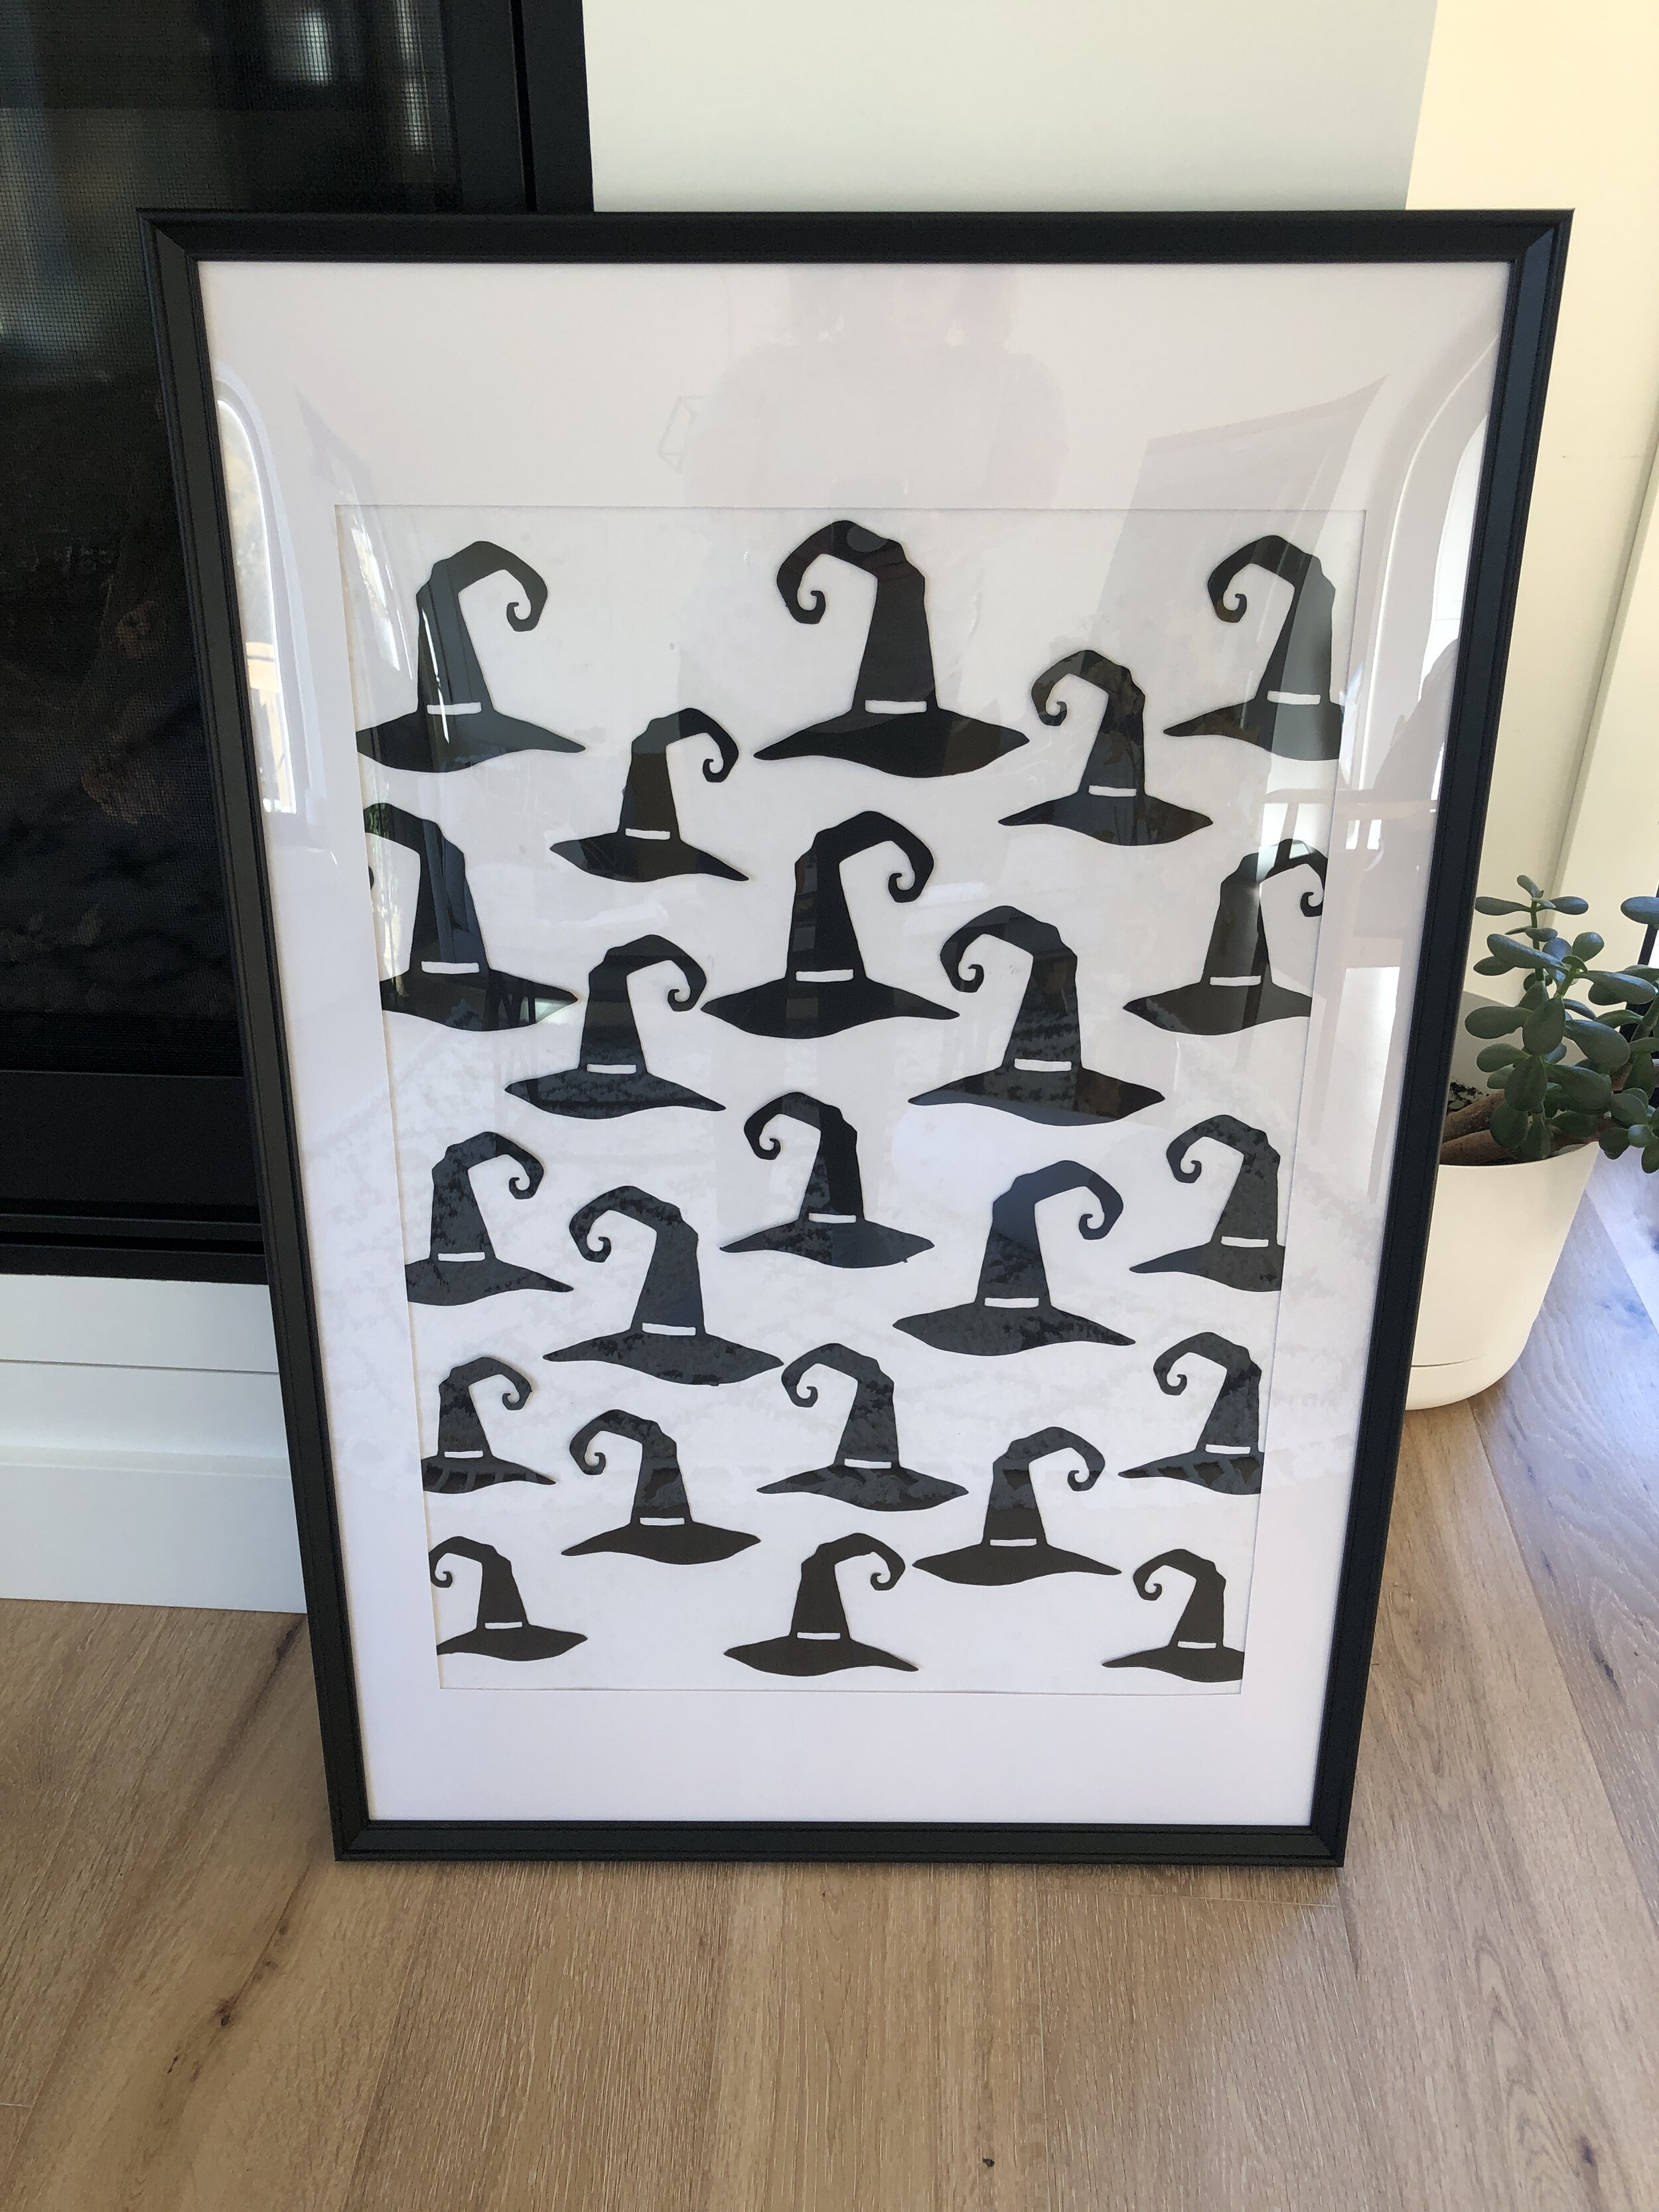


To get the cut file on the Silhouette Design Store click HERE or on the image below:


Would love to hear if you decorate for Halloween and what is your favourite part of this awesome holiday??

DIY Lanterns from thrifted placemats
Learn how to repurpose placemats into these cool lanterns!
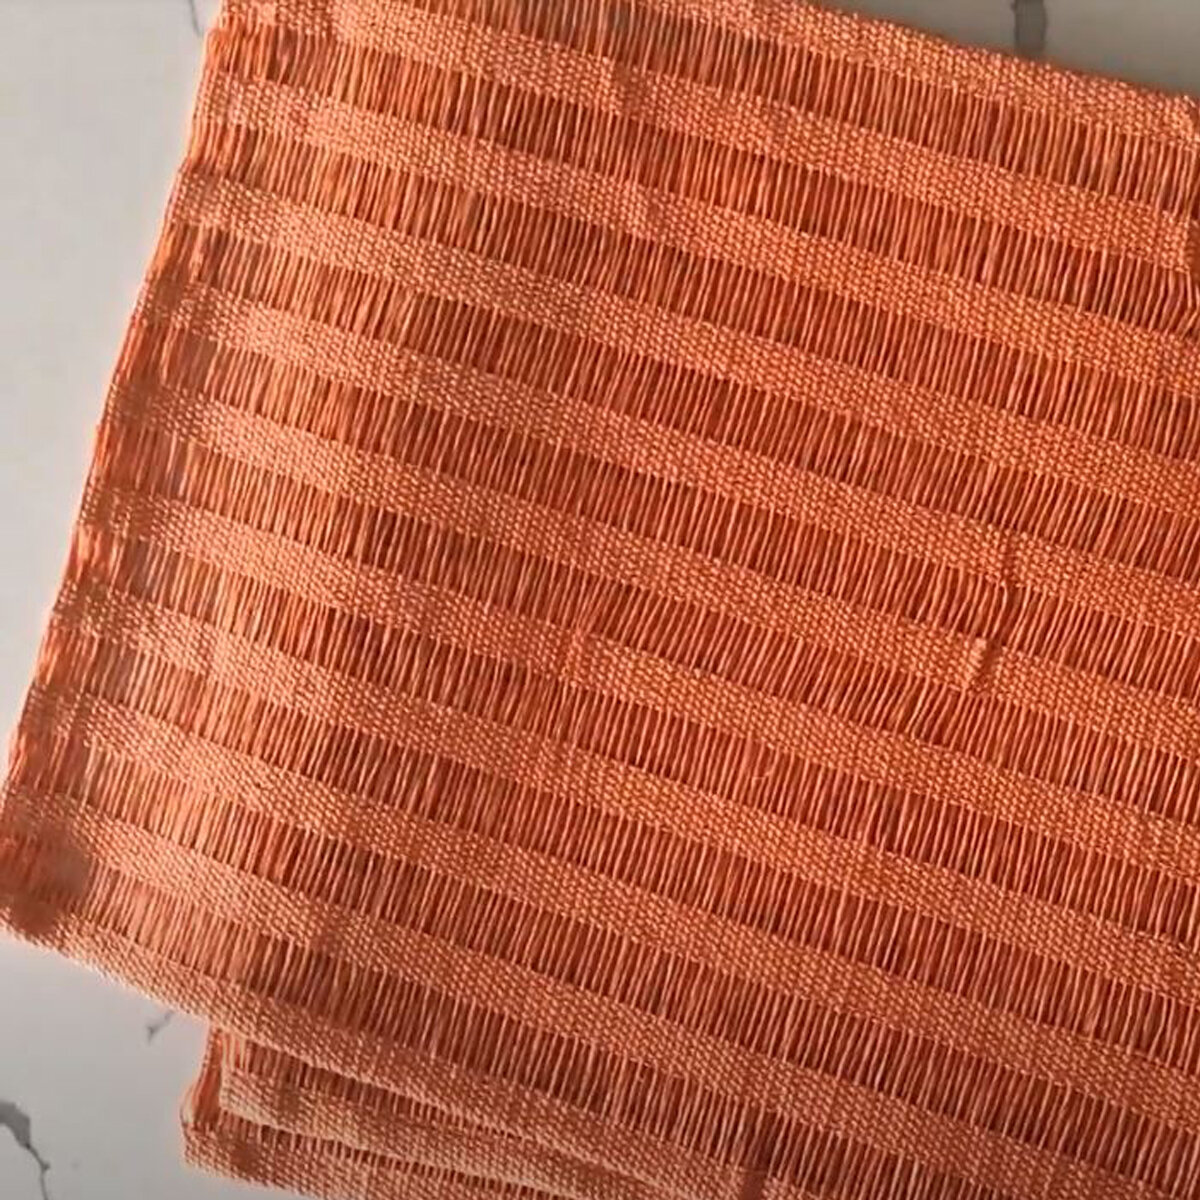
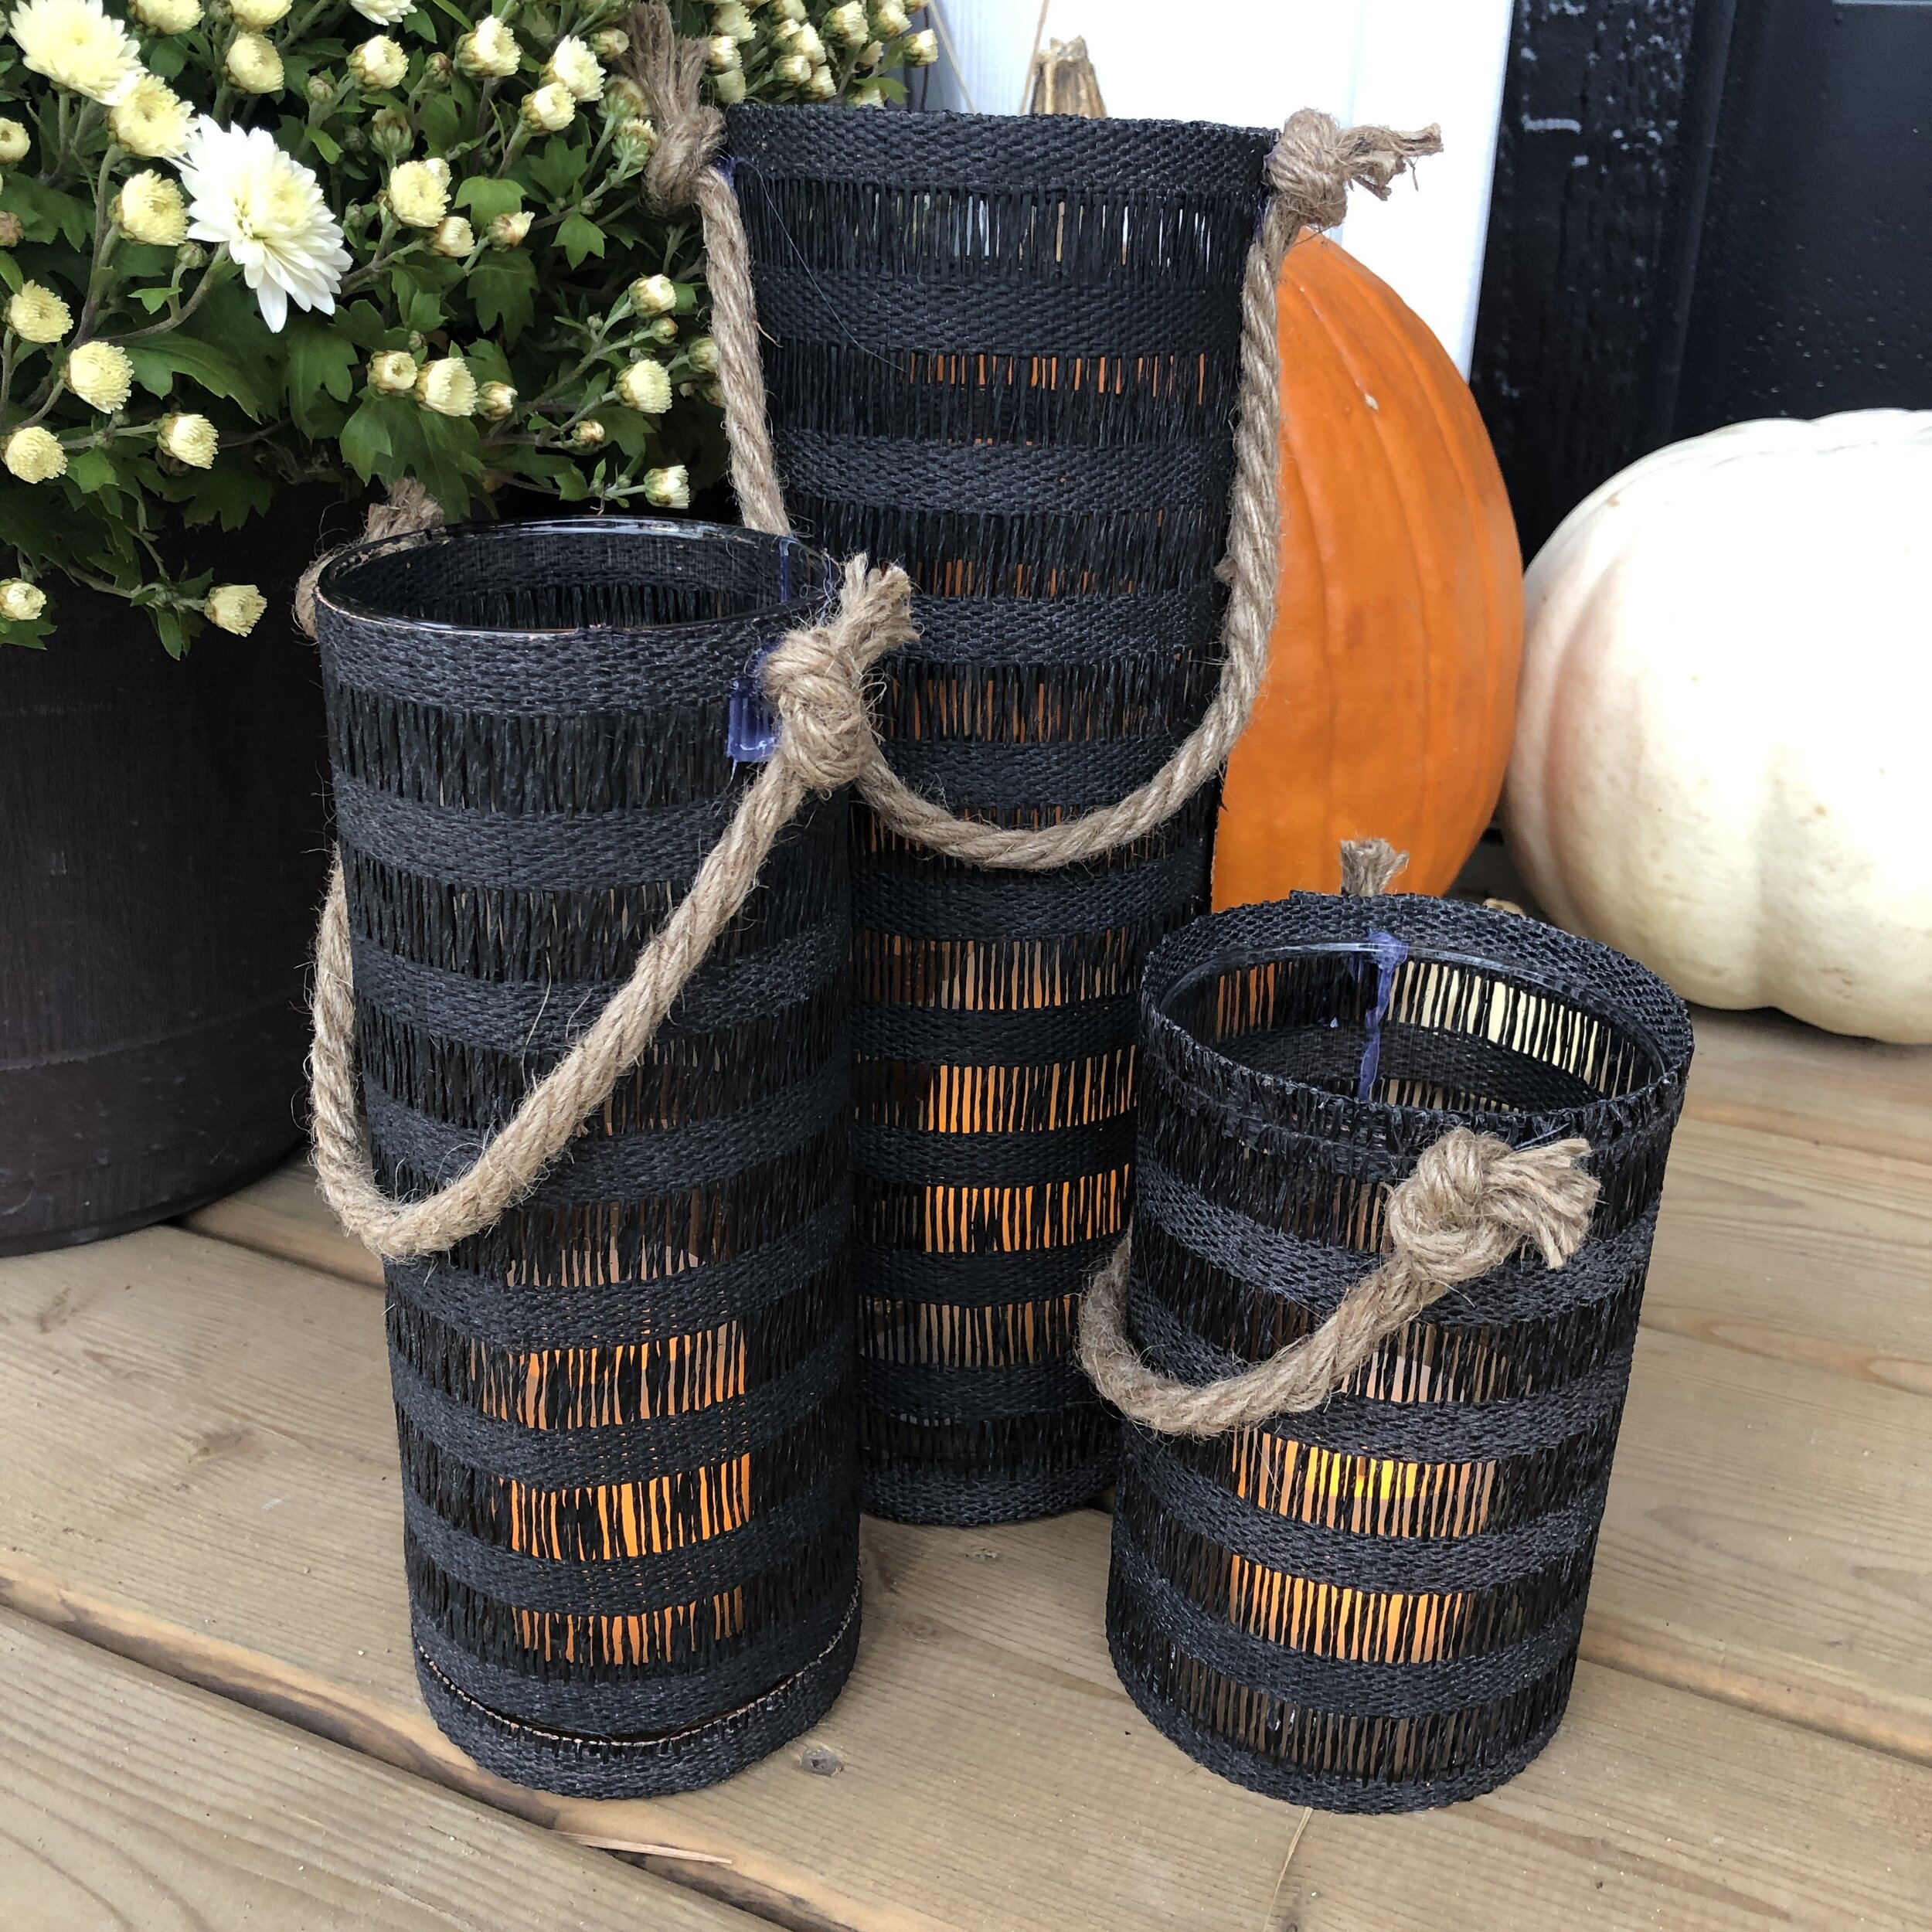
Have you ever picked something up ie/ placemats and a light bulb went off in your head and you could imagine it as something totally different?? I was shopping at one of our local thrift stores and that is exactly what happened! I saw these orange placemats and instantly knew I wanted to make some lanterns for my fall porch. To learn how I took these placemats and made them into these beautiful lanterns keep reading :)
Supplies Needed:
3 placemats from the thrift store
3 glass lantern candle holders from Dollar Tree or Dollarama
Spray paint of choice
Nautical rope from Dollar Tree or thick rope from Hardware store
Hot glue gun and glue
Battery powered candles
Let’s Get Crafting!
Step 1: Spray paint the placemats. You may need a few coats. I had originally sprayed white and it didn’t work as the orange kept coming through. You will need to try it on your placemats.

Step 2: Cut placemats to the height and width of the lanterns. I eyeballed them and tried to keep an edge of the placemats.

Step 3: Hot glue the cut edge (height wise) down the edge of the placemat onto the lantern. Wrap the placemat around the lantern and hot glue the finished edge. Be careful to not burn your fingers :)

Step 4: Make rope handles. I first made a knot on the one end then eyeballed it for the length and added a few inches before I cut. Then I made another knot at the other end. Hot glue the knots to the lanterns.

Step 5: Add battery operated candles (or real but I chose fake) and place lanterns where you want them. I love how they turned out!


I would love to hear your thoughts on how this turned out!!

DIY $8 Pillow
Did you know that you can easily make throw pillows using an inexpensive rug from the dollar store??
I just love it when everything just clicks and works out! I was walking down the isles of Dollarama and I spotted these beautiful mats. They were $4 each!! I grabbed two and kept walking down the isle and spotted some lumbar pillows for $4 each as well! I knew right away what I wanted to do! This came together so easily I was SHOCKED!!

Supplies you will need:
Floor mat from the dollar store
Lumbar pillow from the dollar store
Plastic or large needle
Yarn
Piece of cardboard or a book to make tassels
Step By Step Instructions:
Step 1: lay floor mat on a flat surface good side out
Step 2: in the center of the mat, lay the pillow insert
Step 3: fold over the overlapping pieces to wrap the lumbar pillow
Step 4: Using a blanket stich, sew the edges with the yarn (I used black), until both sides are stitched up
Step 5: Optional - make tassels (see my other post on how to make tassels
Step 6: attach tassels to pillow
Step 7: ENJOY!!!
Watch the full tutorial on TikTok below! Click on image to watch!


What is your favourite Dollar Store diy you have done? I would love to see in the comments!!

Let’s Connect!!!
Dining Room Gallery Wall
No need for expensive mats to frame your photos! Find out what I used to make these frame pictures for my dining room!
When we were designing the house I knew that I wanted to have some large frames in the dining room. We don’t have lots of wall space in the main living area and wanted the frames to really pop! For frames I always turn to Ikea as they have the most economical options. I sourced out these Knoppang 24” x 36” black frames. I ordered 3 as they would be the perfect size for the dining room wall.

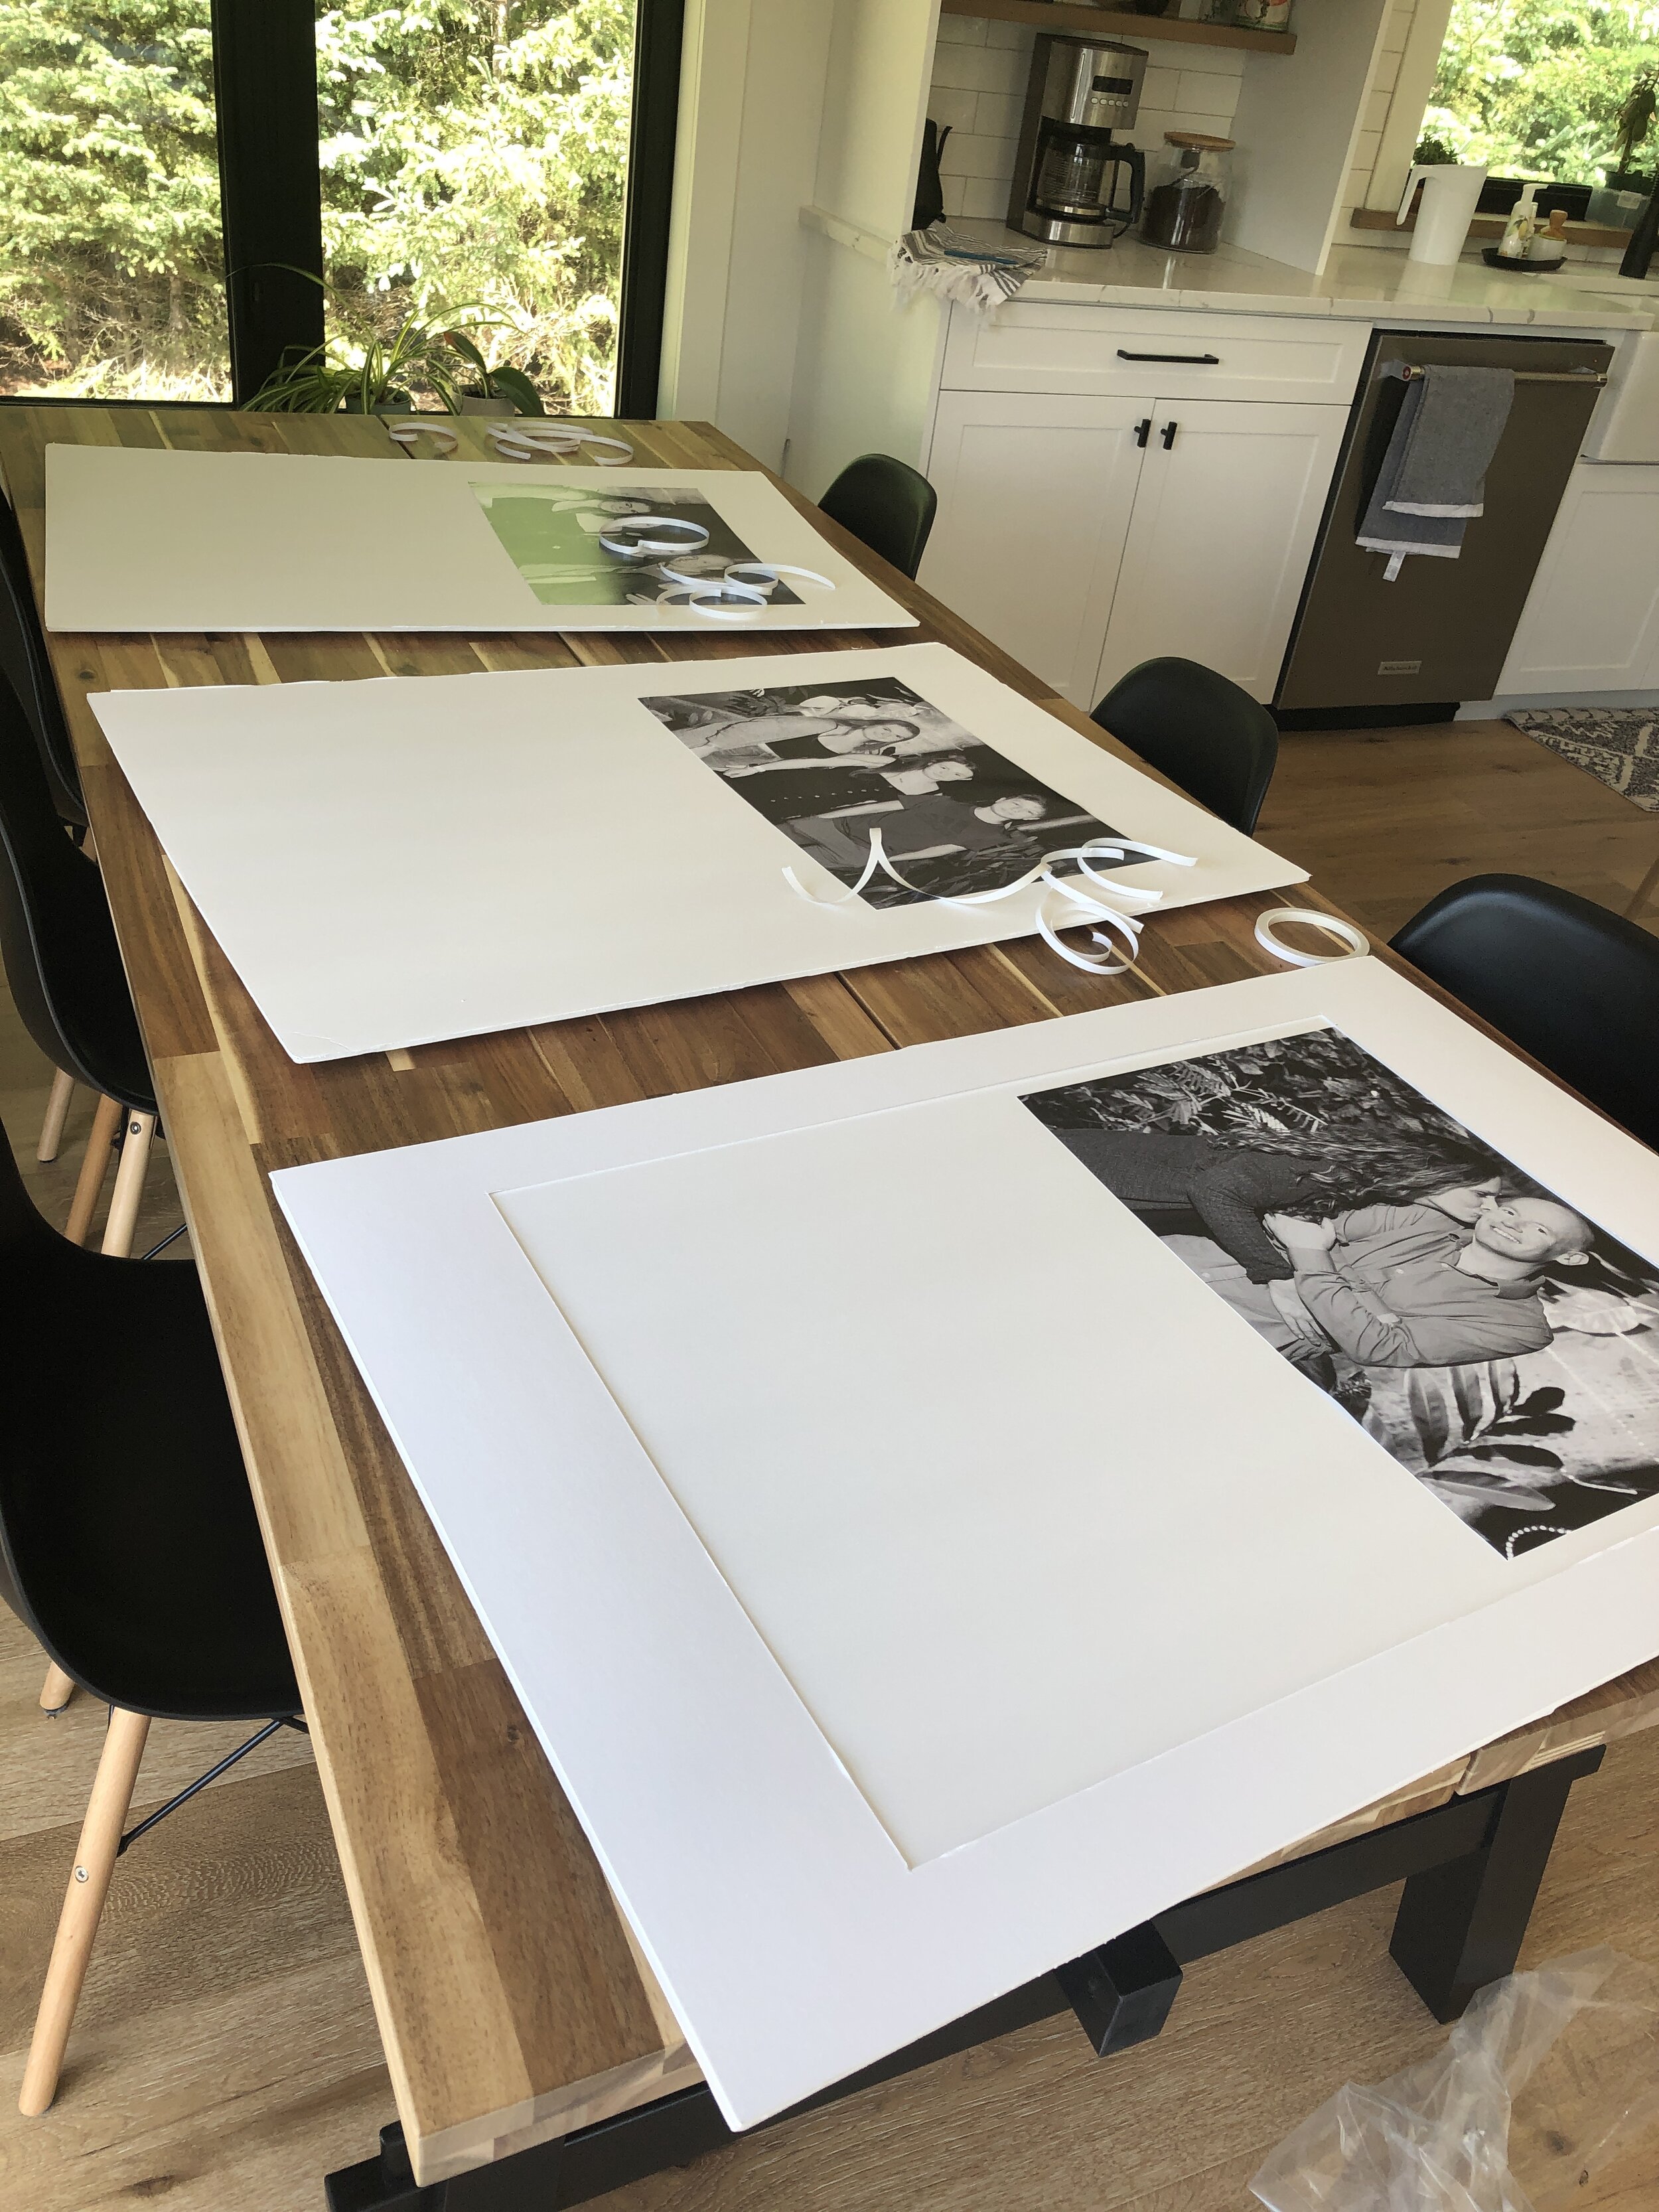
I knew that I wanted to frame some family pictures from our trip to Mexico in 2019 and because of the orientation of the pictures I knew I wanted to print them at a 12”x18”. I got them printed at Poster Jack which was so easy to upload, edit and order. I was also SHOCKED when they arrived to my rural town the very next day!!!! The quality was amazing and I loved that I was able to turn my photos to black and white right there as I ordered! If you are interested in getting 25% off your first order make sure to click HERE or below! Note: I will earn Poster Jack Reward points
The Ikea frames came with a mat but it wasn’t the correct size. I didn’t want to spend a lot as custom mats can be very pricey. I wanted some form of Bristol board or foam board but they were not big enough. Then I came across Elmer’s presentation boards made of foam core. They were 36” tall by 48” wide with two folding side panels. I measured (am I the only one who shops with a measuring tape?? :) the inside panel and it was PERFECT!!! They were very inexpensive (I believe under $5 each). I cut the sides off with an exacto knife and then using double sided tape, mounted my photos onto the foam board.
Supplies Needed:
Printed photos (get 25% off yours today from Poster Jack!)
Elmer’s 36”x48” presentation board (can be found here)
Double sided tape (I love Dollarama’s tape)
I then put them into the frames and hung them on the wall. Such an easy, inexpensive DIY with a huge impact!
EDITED: PLUS this wall was featured on NEXTLUXURY for the Top 87 Dining Room Wall Decor Ideas (and guess who was #1??!?!)
To watch a quick tutorial that I did for my TikTok channel please watch below!
Do you have a gallery wall in your home?? I would love to see it in the comments!


I hope you gained some inspiration on how you can add some family photos to your wall! Have a great day!
Make this super cute framed artwork using your electrotonic cutter!